

Site managers can create and manage Item Lists for both Accounts and Customers in the CyberStore Management Console.
Use the Item Lists tab to to manage these lists. To access this tab, find the "Customers" menu on the main Console tab. If you want to manage your Customer Item Lists, navigate to "Customer Maintenance." If you want to manage your Account Item Lists, navigate to "Account Maintenance."
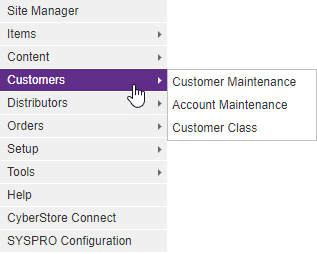
On each of the "Customer Maintenance" and "Account Maintenance" pages, you will see a list, such as the one below.
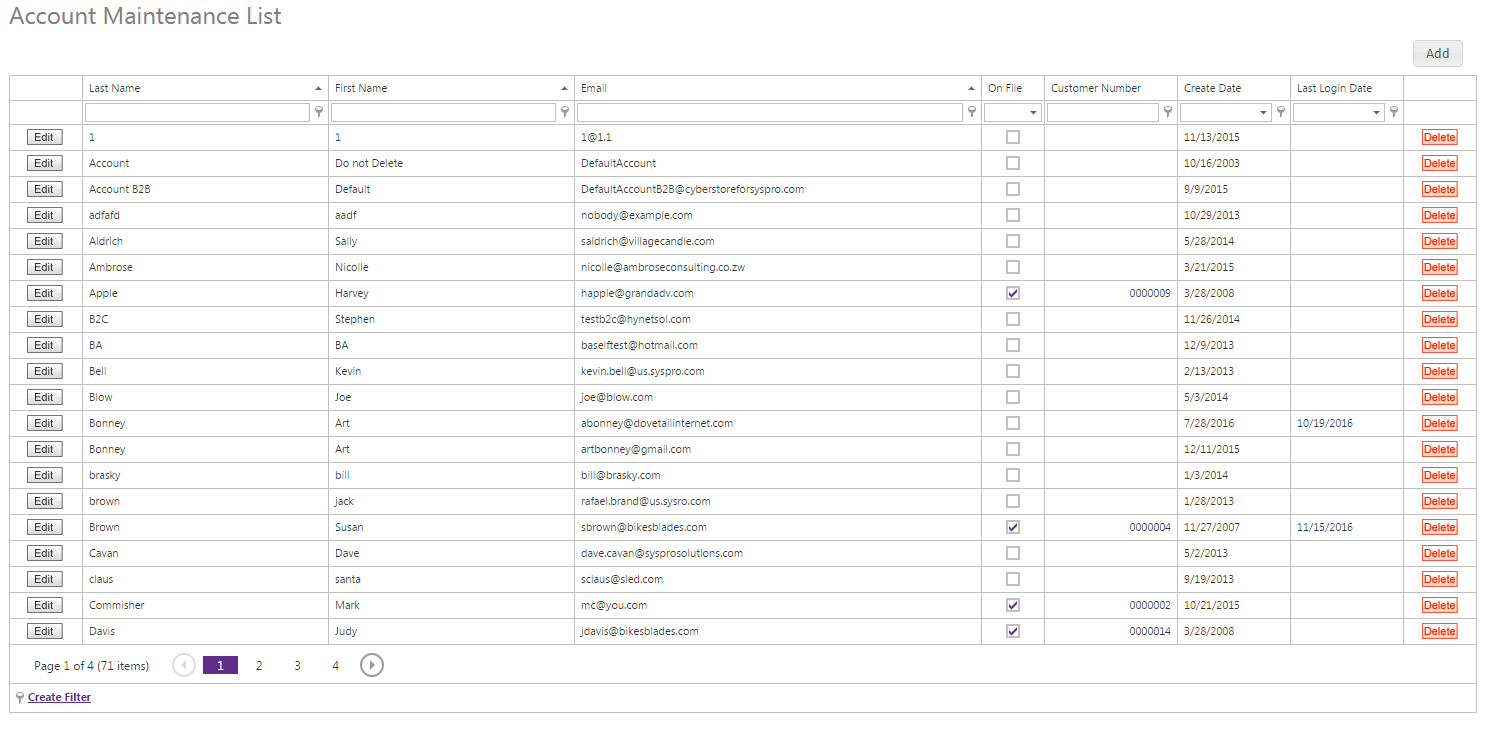
You can access your Item Lists by either right-clicking on the list, by selecting an Edit button from within the grid, or by clicking the Add button.
When you right-click over the list, the pop-up context menu appears. Through this menu, you can add a new Item List, edit the properties of an existing list, or delete a list. Simply select the desired option. When you choose "New" or "Edit," the maintenance pop-up appears.
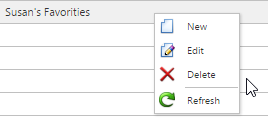
You can adjust existing Item Lists or create a new one by selecting an Edit button or the Add button, respectively. The maintenance pop-up appears.
Once you are inside of the maintenance pop-up, navigate to the Item Lists tab.
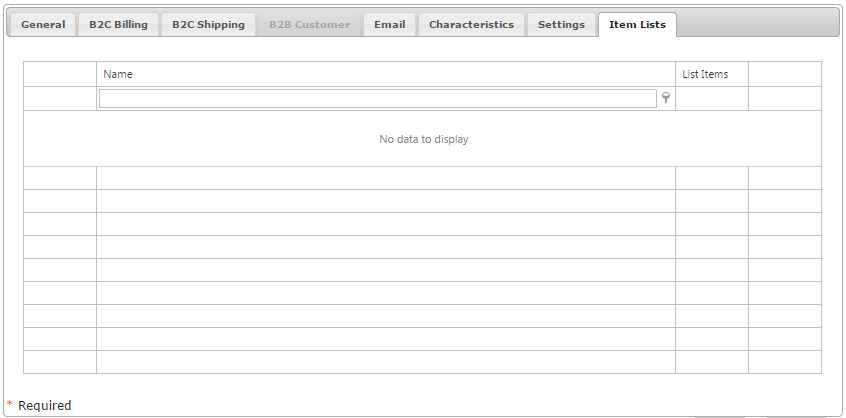
You will see a grid inside of the Item Lists tab. Locate the Item List that you want to make changes to. To view, add, or remove Items, click the corresponding View button.

When you click the View button, the "List Items" pop-up loads. Here, you can review the Items within the list. You can also add more Items either individually or in bulk.
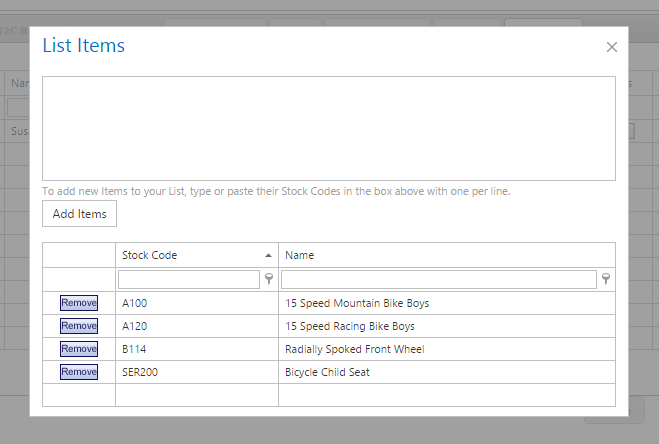
To add multiple Items at once, enter the stock codes in the text area and then click the Add Items button.
Tip:
When using the bulk import box to add Items to your list, place one stock code per line.
You can copy a column of stock codes directly from an Excel worksheet and paste them into the import box.