CyberStore E-Payment 2023 Documentation
Return Integration
The fith tab in the "Site Manager" is the Returnstab.
The Returns tab allows you to configure how the return process will work. Setting here will determine weather non-stocked items or items that are not in CyberStore are returnable. This is where you can configure the default return warehouse, default return type, and the problem codes used for returns.
General Return Status Options Problem Codes
Use the General tab to define the general return setting for stocked and non-stocked items.
Set default return warehouse, default return type, default return problem code. Determine if and how non-stocked items are returned. Determine how items with registered serial numbers are processed and how the serial number can be used in the return process.
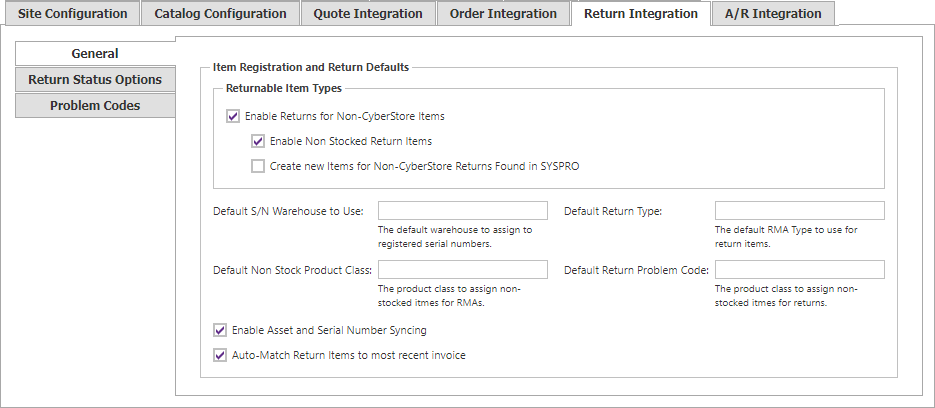
The General tab contains the following elements:
| General Tab | |
|---|---|
| Enable Returns for Non-CyberStore Items | When checked, Non-CyberStore Items are allowed to be added to returns. |
| When checked, Non-Stocked Items are allowed to be submitted in returns. | |
| When checked, a new CyberStore Item will be automatically created for the Non-CyberStore Item if the stock code exists in SYSPRO. | |
| Default S/N Warehouse to Use | The default warehouse to assign to registered serial numbers. |
| Default Return Type: | The default return type to use for return items. |
| Default Non Stock Product Class | The product class to assign non-stocked itmes for RMAs. |
| Default Return Problem Code | The product class to assign non-stocked itmes for returns. |
| When checked, Assets with serial numbers that match SYSPRO Serial Numbers will be synchronied. | |
| The system will find the most recient invoice that contains the retruned item and link this return to that invoice. |
Important Note:
Changes made in the Site Manager take effect immediately and are saved as soon as you leave a field, check a box, or make a drop-down selection.
The change confirmation mark  appears next to the field you are editing and disappears upon saving.
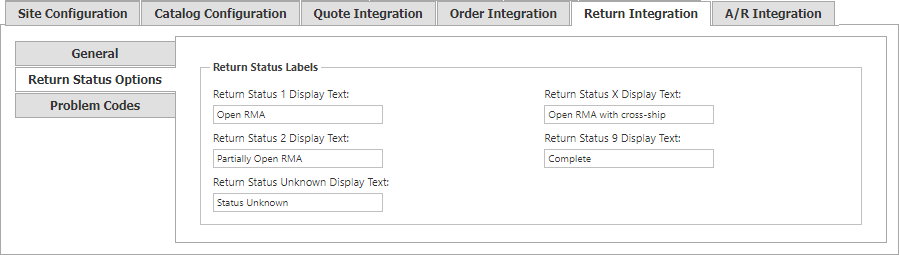
Use the Return Status Options tab to customize the text that can be displayed for the return status.
| Return Status Options | |
|---|---|
| Return Status 1 Display Text | The text to display when an Return status is 1. Default is "Open" |
| Return Status 2 Display Text | The text to display when an Return status is 2. Default is "Partially Open Return" |
| Return Status Unknown Display Text | The text to display when an Return status is Unknown. Default is "Status Unknown" |
| Return Status X Display Text | The text to display when an Return status is X. Default is "Open Return with cross-ship" |
| Return Status 9 Display Text | The text to display when an Return status is 9. Default is "Complete" |
Important Note:
Changes made in the Site Manager take effect immediately and are saved as soon as you leave a field, check a box, or make a drop-down selection.
The change confirmation mark appears next to the field you are editing and disappears upon saving.
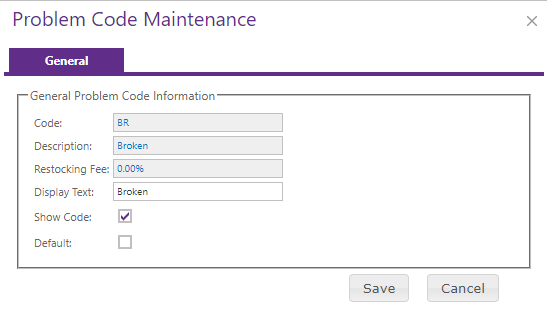
Use the Problem Codes tab to set a default problem code. Customize the text that is displayed for each problem code in the Display Text field. Set the sort order with the arrows in the last colum, the problem codes will sort as shown. Select which problem codes will be displayed by checking the box in the Show Code checkbox when editing the problem code
.
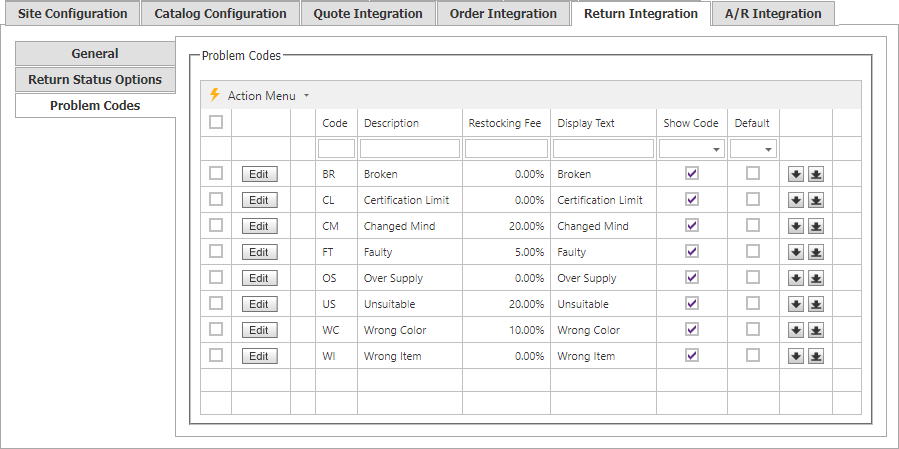
Click the Edit button or double click a row in the table and the Problem Code Maintenance screen will open. In this screen you can set the Display text. Select if a problem code displays, or set the problem code as the defalut.
Note:
Be sure to click the  button when you are finished making any edits.
The Action Menu provides an Export and a Show/Hide option.
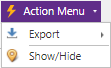
The Export option will show a list of exportable formats available (currently XLSX and XLS formats for Excel, a PDF file, or CSV formatted data). When a format is selected, the CyberStore data for all selected rows will be downloaded to a file which can be saved to your desktop or device for use offline.
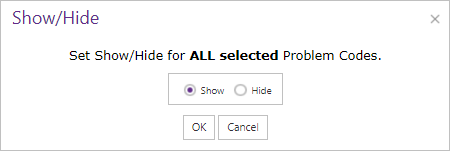
The Show/Hide option will allow you to set the Show/Hide property for the problem codes in bulk.