Email Manager
Email Manager is used to maintain CyberStore’s programmed email responses. Use it to edit the message address, recipients, subject, HTML content, and—when a custom email form is used—the post-send confirmation content.
To open Email Manager, select Setup > Email Manager in the Management Console.
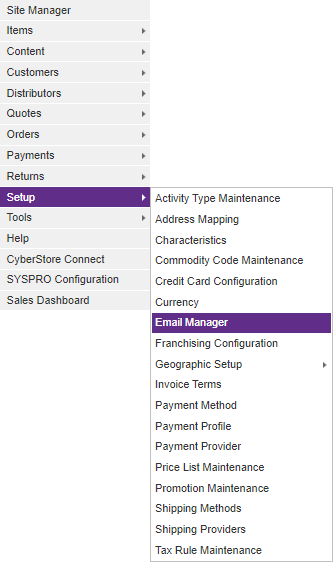
Email Manager maintains message content and recipients. Configure the application-wide SMTP server separately in Application Settings.
Find or create a message
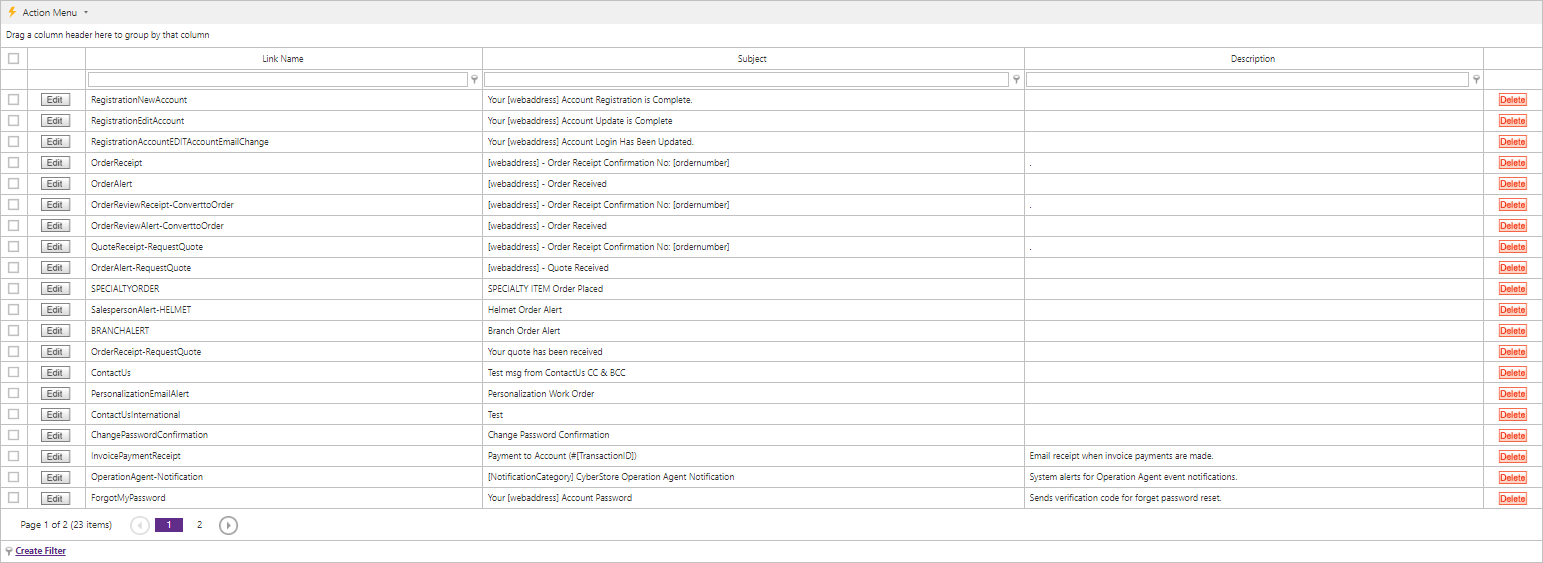
The Email Messages grid lists the programmed message responses. Select Edit to update an existing message or Add to create one.
The Email Message Maintenance window has three tabs:
- Header for message identity, delivery addresses, and subject.
- Body for the HTML email content.
- Thank You for the post-send page shown by a custom email form.
Select Save after making changes.
Header tab
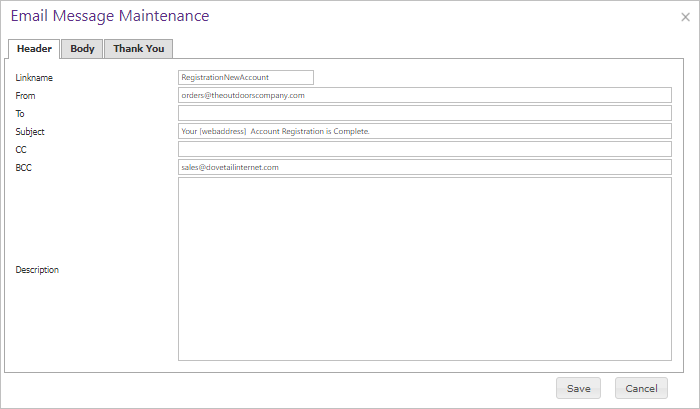
Use the Header tab to define how CyberStore identifies and delivers the message.
| Field | Description |
|---|---|
| Linkname | The unique name of the system-generated email. |
| From | The email address from which the message is sent. |
| To | The message recipient. Enter multiple email addresses separated by commas. |
| Subject | The email subject. You can include valid replacement tags that are available for that specific email. |
| CC | Email addresses that receive a carbon copy. Enter multiple addresses separated by commas. |
| BCC | Email addresses that receive a blind carbon copy. Enter multiple addresses separated by commas. |
| Description | A description of the email type and how it is used. |
Body tab
Use the Body tab and its WYSIWYG HTML editor to write and format the message. Include only replacement tags that are available to the specific email type.
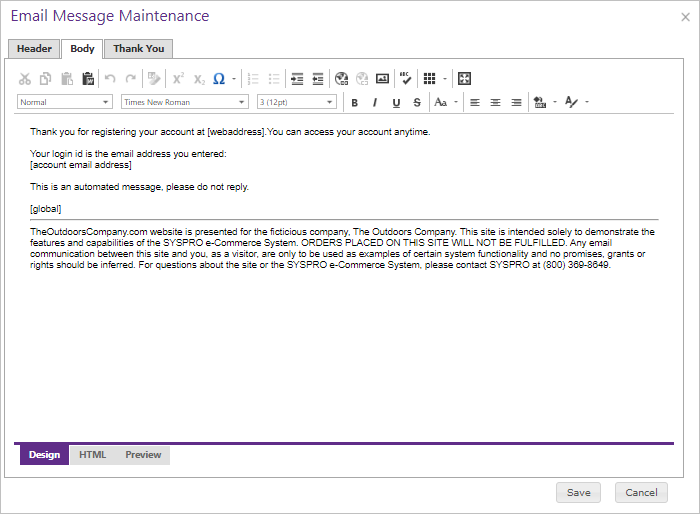
Uploaded images are inserted with a relative URL to the upload path. Edit the image source URL to include the full site address so the image renders in the delivered email.
The editor does not support <style> tags. Use inline style attributes when styling is required.
Thank You tab
Use the Thank You tab for the page displayed after a shopper successfully sends a custom email form created with CatalogContactUsControl.
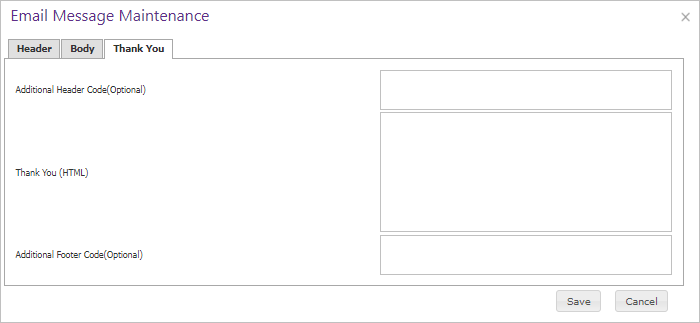
| Field | Description |
|---|---|
| Additional Header Code (Optional) | Landing-page-specific HTML or JavaScript to include before the Thank You content. |
| Thank You (HTML) | The custom message displayed after the email is sent. |
| Additional Footer Code (Optional) | Landing-page-specific HTML or JavaScript to include after the Thank You content. |
Before you save
Review each change before selecting Save:
- Confirm that recipient addresses and any comma-separated lists are correct.
- Use replacement tags only where the selected email supports them.
- Test HTML content with fully qualified image URLs.
- Confirm that any custom form has the intended post-send message and optional header or footer code.