WordPress
The CyberStore Connect WordPress plug-in connects a WordPress site to CyberStore authentication. After a shopper signs in through CyberStore, the plug-in returns the shopper to the originating WordPress page and keeps the WordPress and CyberStore sessions active.
When a shopper first signs in through the plug-in, WordPress creates a corresponding user and assigns the user to the role associated with the shopper’s CyberStore Customer Class.
Configure the CyberStore Connect client
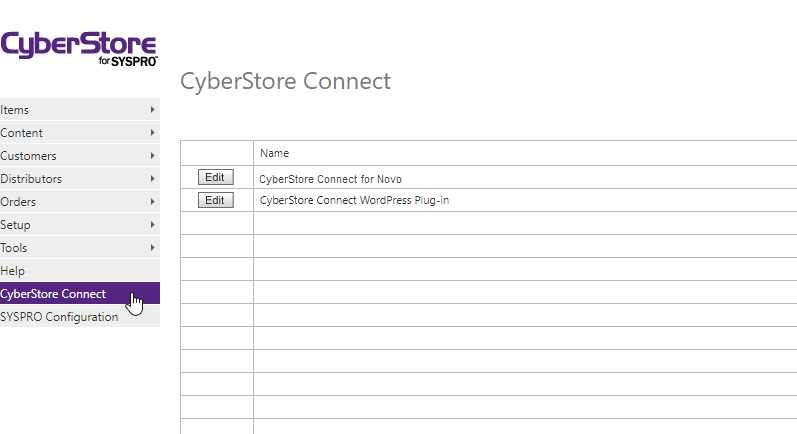
- In the CyberStore Management Console, open CyberStore Connect.
- Edit the CyberStore Connect WordPress Plug-in client.
- On the General tab, provide the client name and create a client code.
- On the IP Addresses tab, add the IP address of the WordPress site.
The client code is used as the API key in the WordPress plug-in settings.
Configure the WordPress plug-in
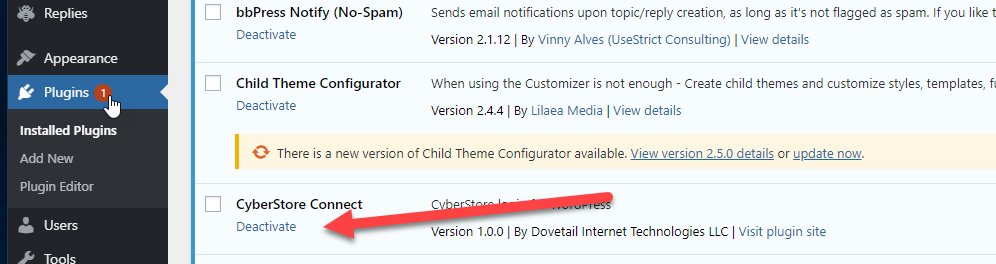
- In WordPress, activate the CyberStore Connect plug-in from Plugins.
- Open Settings > CyberStore Connect.
- Enter the client code, CyberStore host name, login URL, logout URL, and CyberStore Connect web-service URL.
- Save the settings.
Use the plug-in’s debug log to review integration errors.